
You can find templates for some of the most common registration and compliance requirements on Engage. Here we will walk you through the steps of adding a document requirement for a worker or business.
Adding a document requirement
Who can add document requirements?
Only the Manager and Admin roles from the Agency can add document requirements. (you can find out more about roles and privileges here)
Step 1. Log in to Engage portal
Step 2. Navigate to the 'Preference' section
Step 3. Go to 'Doc. Requirements'
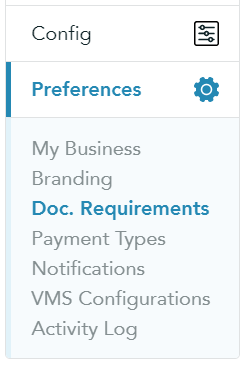
Step 4. Click on 'New Document'

Step 5. Select what the requirement is for, and what type of requirement it is (you can either choose from the list or create a new 'custom' document)
Step 5.1. Here is an example of the requirement types for workers:
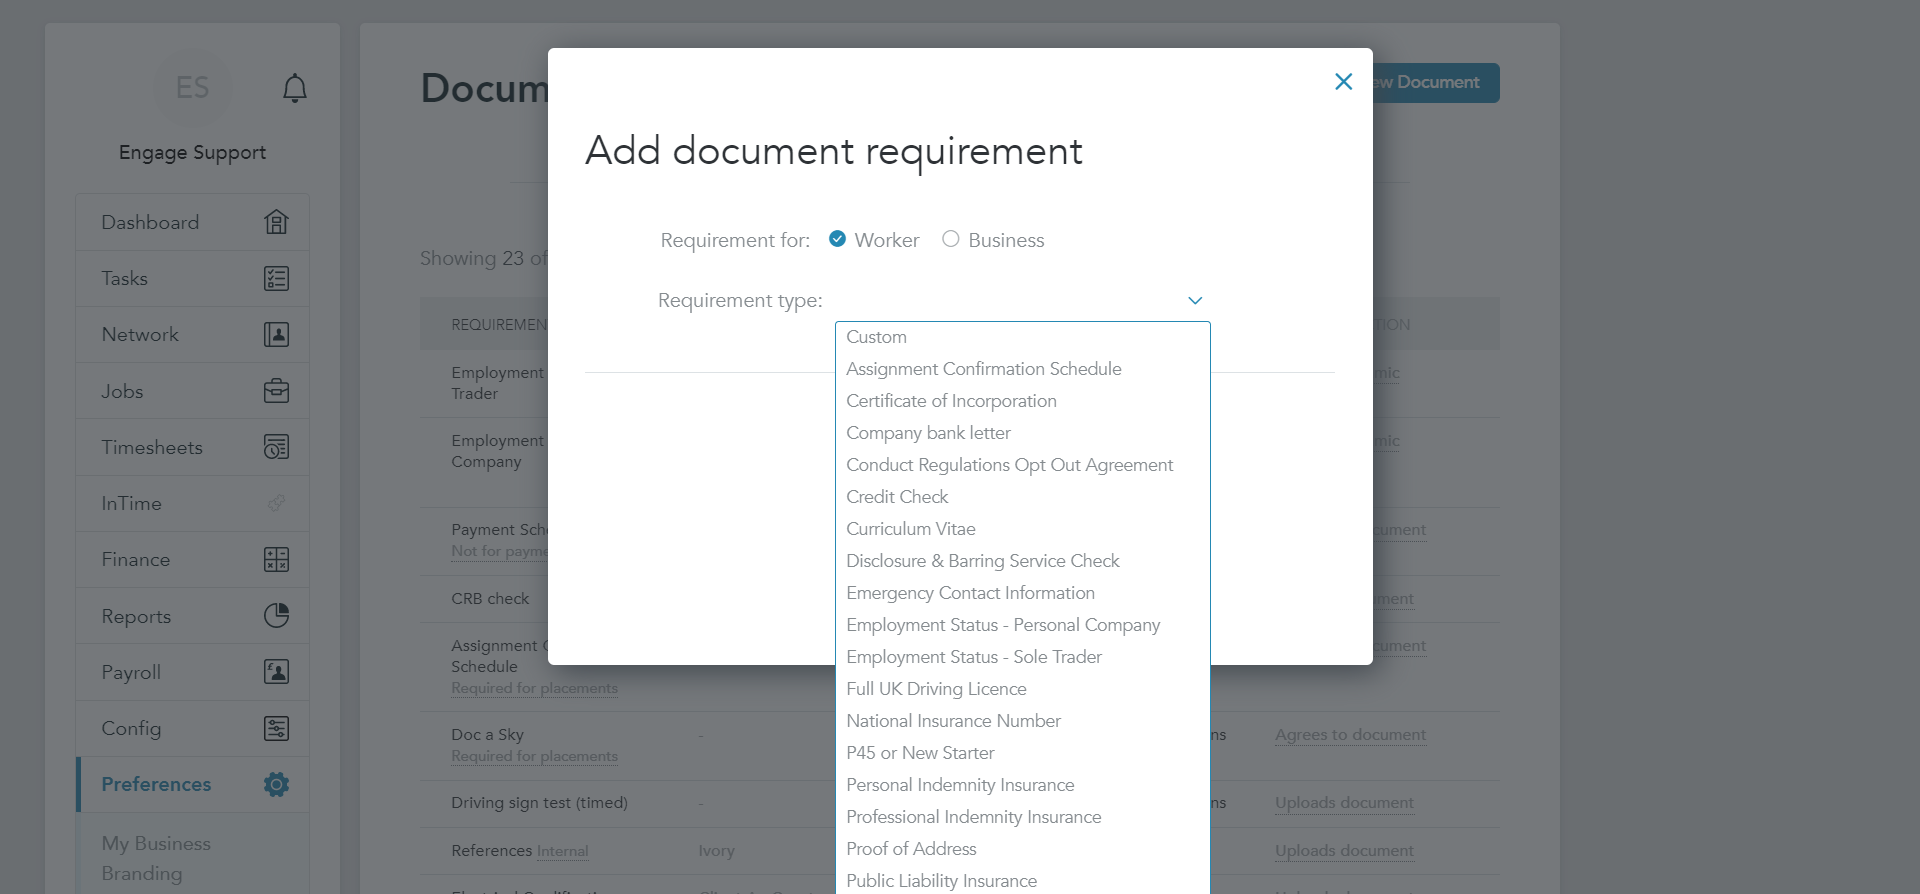
Step 5.2. And for businesses:
Step 6. Choose what the worker should do with the document:
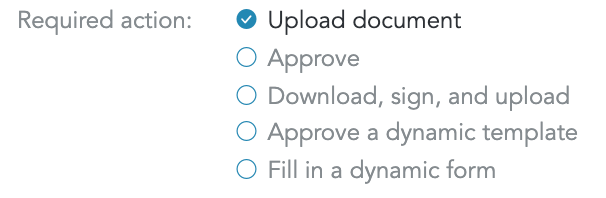
- Upload document - worker would need to upload a specified document
- Approve - worker would need to open and save the document (proving they've read & accepted it)
- Download, sign and upload - worker would need to download, manually sign and upload the document
- Approve a dynamic template - worker would need to approve a document with information relevant to them
- Fill in a dynamic form - worker would need to fill out a form entering relevant details
Step 7. Once you have filled out a form, click 'Add' to save the document to make it available for workers during the registration process
Creating an internal document from the 'Preferences' section
An internal document allows you to store any compliance document with only the agency users having visibility to amend
Step 1. Log in to Engage portal
Step 2. Navigate to the 'Preference' section
Step 3. Go to 'Requirements'
Step 4. Click on '+' symbol
Step 5. Select who the requirement is for, and what type of requirement it is
Step 6. In the 'Visibility' section check 'Internal'
Creating an internal document on the worker's profile
You can also add an internal document on the specific worker's profile - this can be useful if you want to add references or any other documents that are not relevant to the 'OK to pay' status
Step 1. Log in to Engage portal
Step 2. Navigate to 'Network' and 'Workers'
Step 3. Choose a worker, scroll to 'Documents' and click on '+ Custom document'

Step 4. In 'Visibility' section check 'Internal'
Please note!
This type of document will not have any impact on 'OK to pay' flag and will not be visible from the worker's point of view