
If your company allows workers to submit expenses (for example, for travel or fuel costs), just like with timesheets you will have an opportunity to action it for them. This is especially useful when a certain worker doesn't have access to the internet or may not be able to do it from their device.
Important!
To allow submission of expenses you would need to first enable them for each client or placement. To do it please follow this guide.
Who can create Expenses?
Anyone at the agencies can create expenses while end-hirers do not have access to it at all (you can find out more about roles and privileges here)
Creating an expense
Step 1. Log in to Engage portal
Step 2. Navigate to the 'Timesheets' section and select 'Expenses'
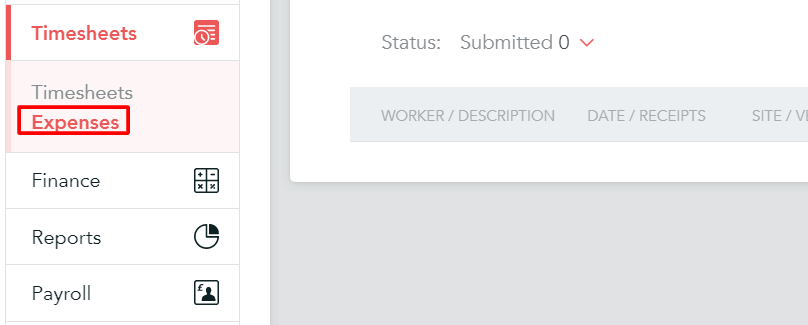
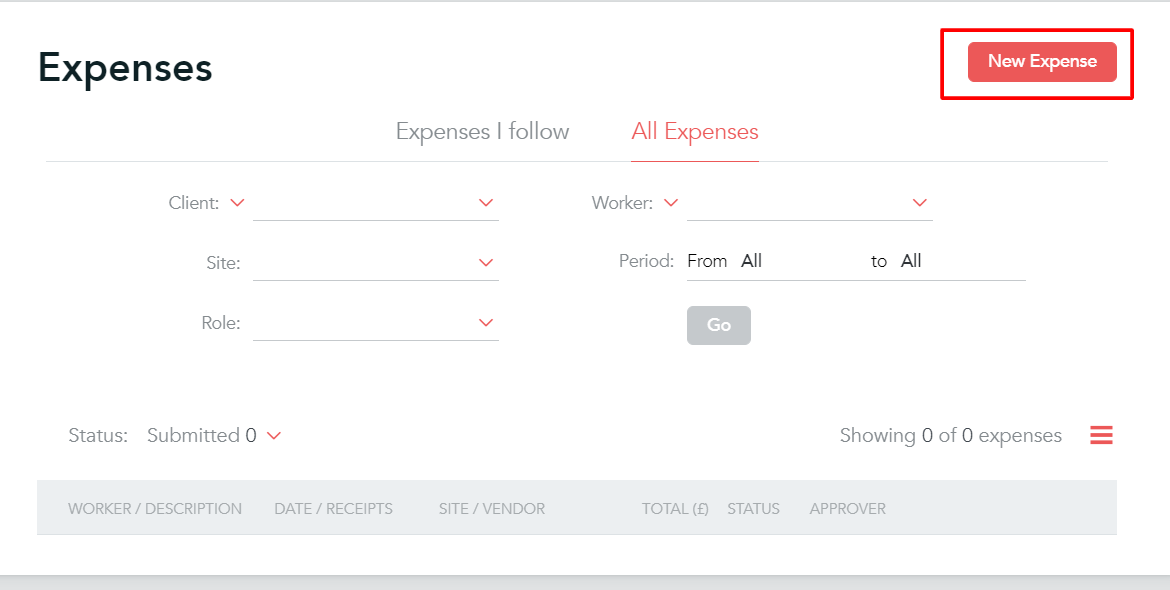
Step 3. Click on the 'New Expense' button
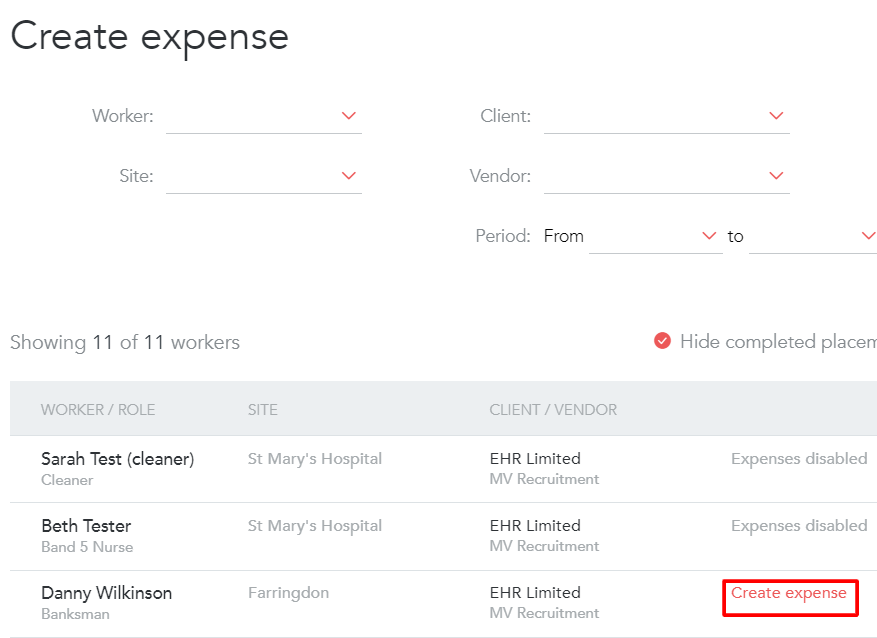
Step 4. Select 'Create expense' next to the worker you want to create an expense for
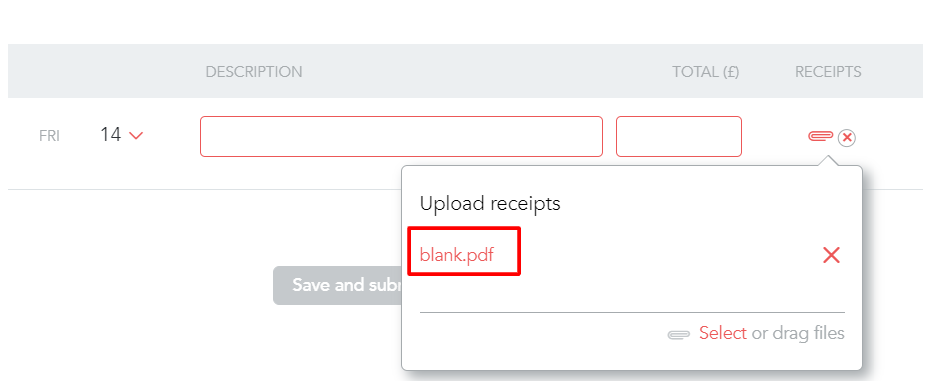
Step 5. Upload attachments by clicking on the paperclip icon:
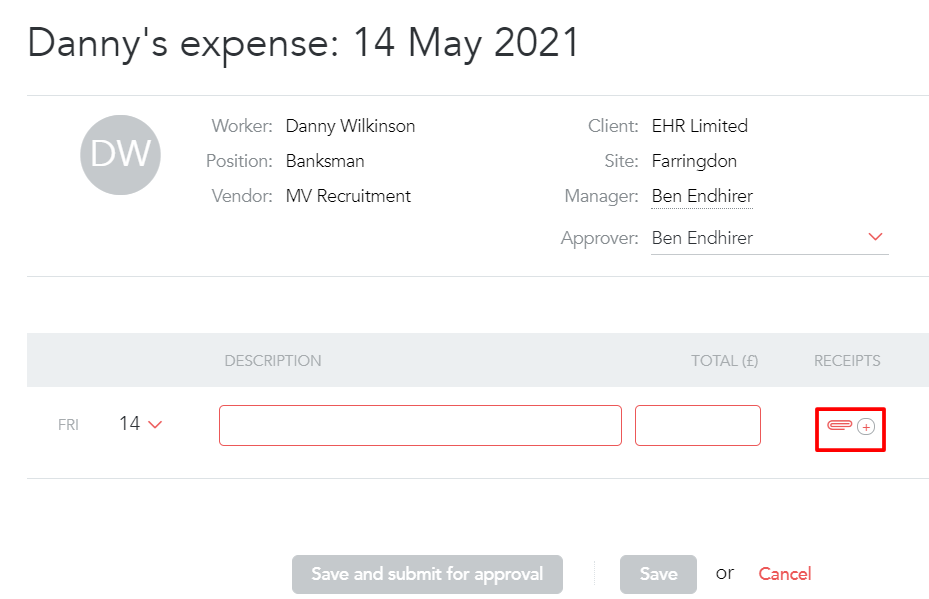
Acceptable file formats are PDF, JPEG, TIFF, GIF, PNG, and BMP (if you need to upload an unsupported file format, such as an XLSX, you can export the file to PDF and upload the PDF export)
Step 6. You can go back and review your uploaded attachment by selecting the paperclip icon again and clicking on the file name:
Step 7. To save your new expense you can click:
- 'Save changes' - this will save an expense and it would be possible to edit it at a later point in time
- 'Save and submit for approval' - please note, once you have submitted your expense you can no longer edit it
Approving or rejecting an expense
Step 1. Navigate to 'Expenses' tab in the 'Timesheets' section (or follow the link emailed to you)
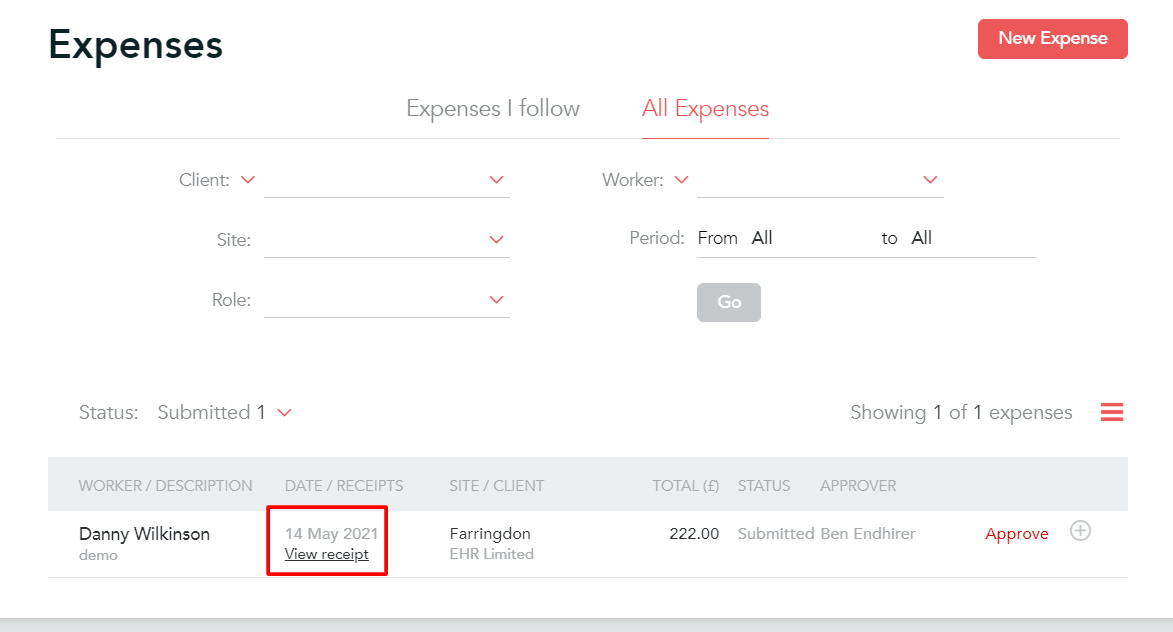
Step 2. View the expense attachment by clicking on the 'View Receipt' button
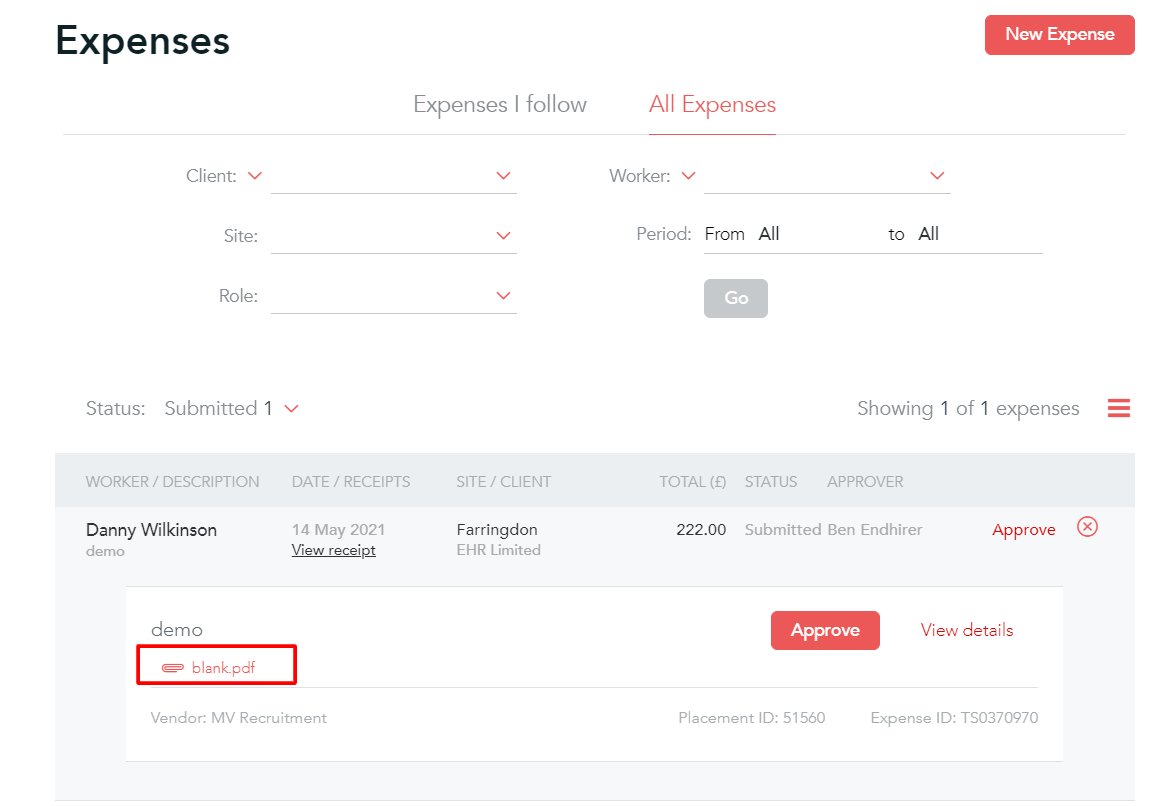
Step 3. You can check attachment by clicking on the file:
Step 4. Once checked, you can do the following:
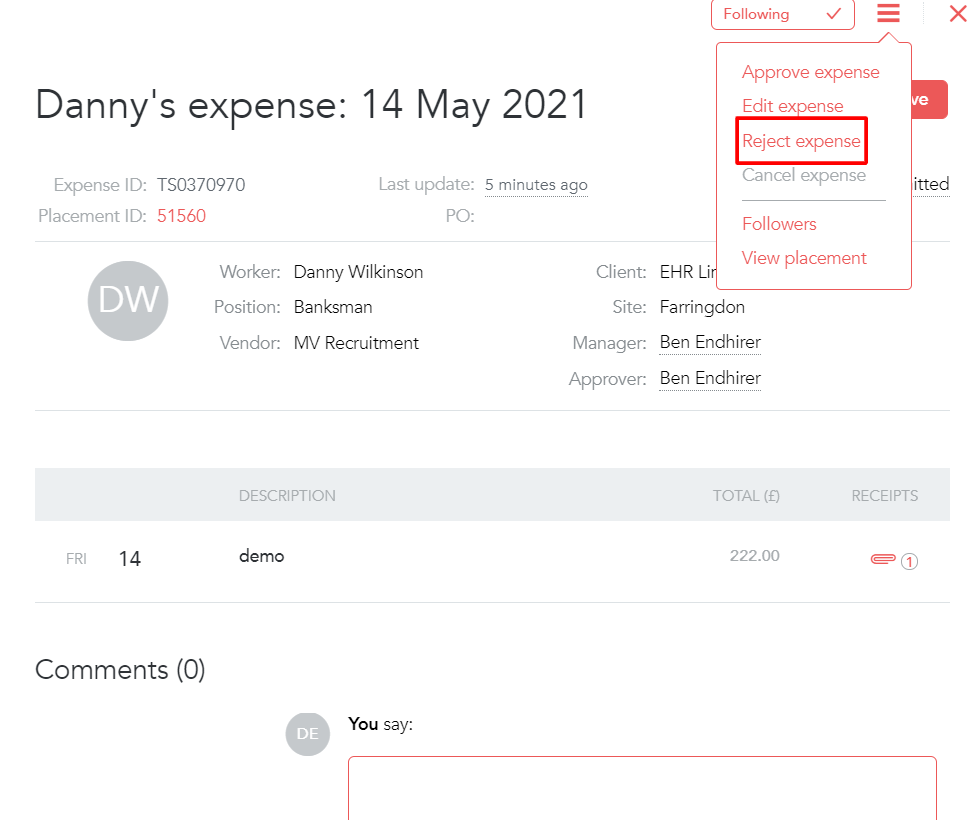
- Approve the expense by selecting the 'Approve' button or the 'Approve expense' button from the 3-line menu (when an expense is approved it will appear on an invoice)
- Reject an expense by selecting 'Reject expense' from the 3-line menu
Cancelling expenses
An approved expense can be cancelled (same as an approved timesheet) but please note, cancelling an expense will raise a credit note.
A guide for workers
If one of your worker's are finding it difficult to submit expenses feel free to send them this guide that outlines the steps they need to follow.