
In this article we will guide you through the process of submitting your timesheet on ENGAGE.
Step 1. Log in to Engage portal
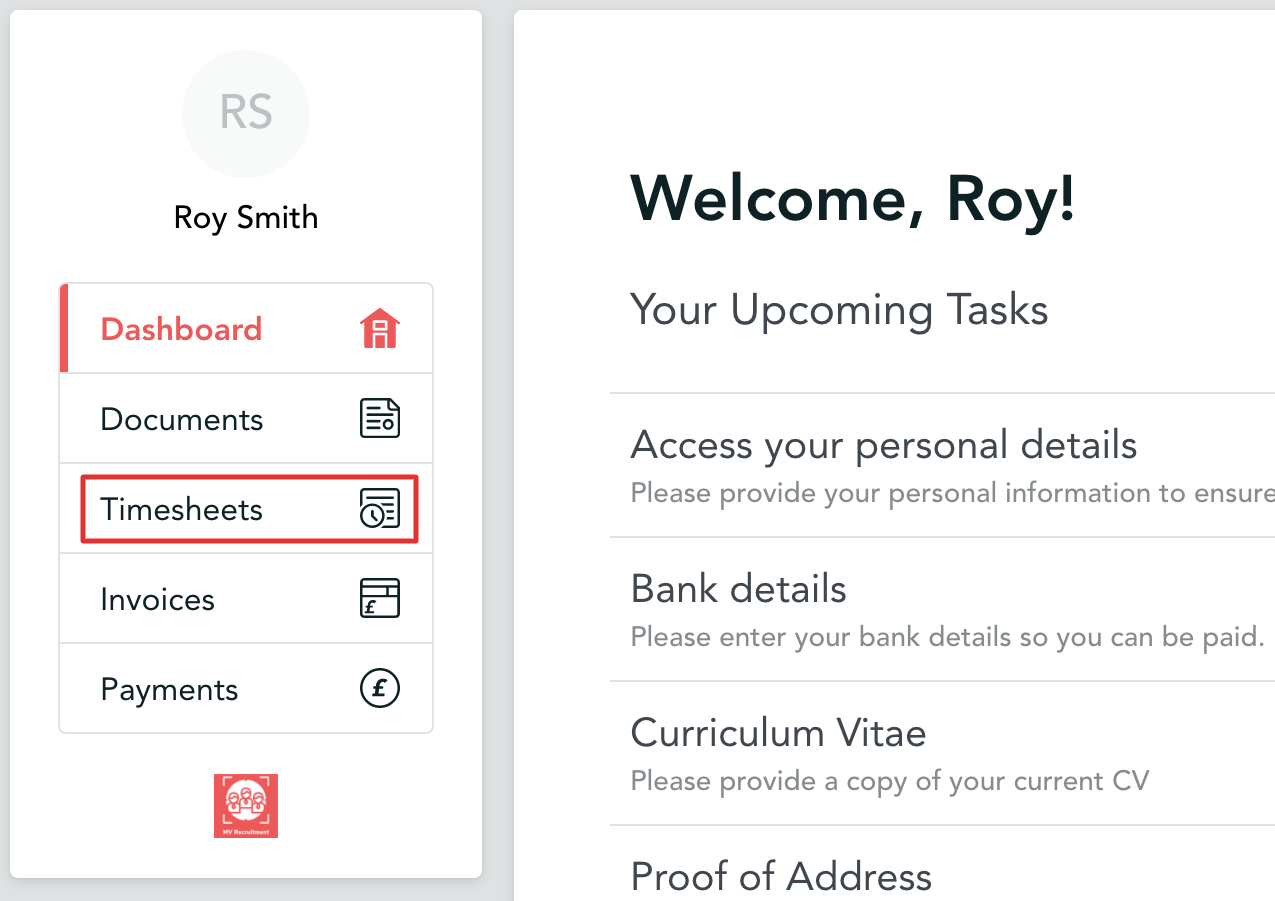
Step 2. Navigate to 'Timesheets'
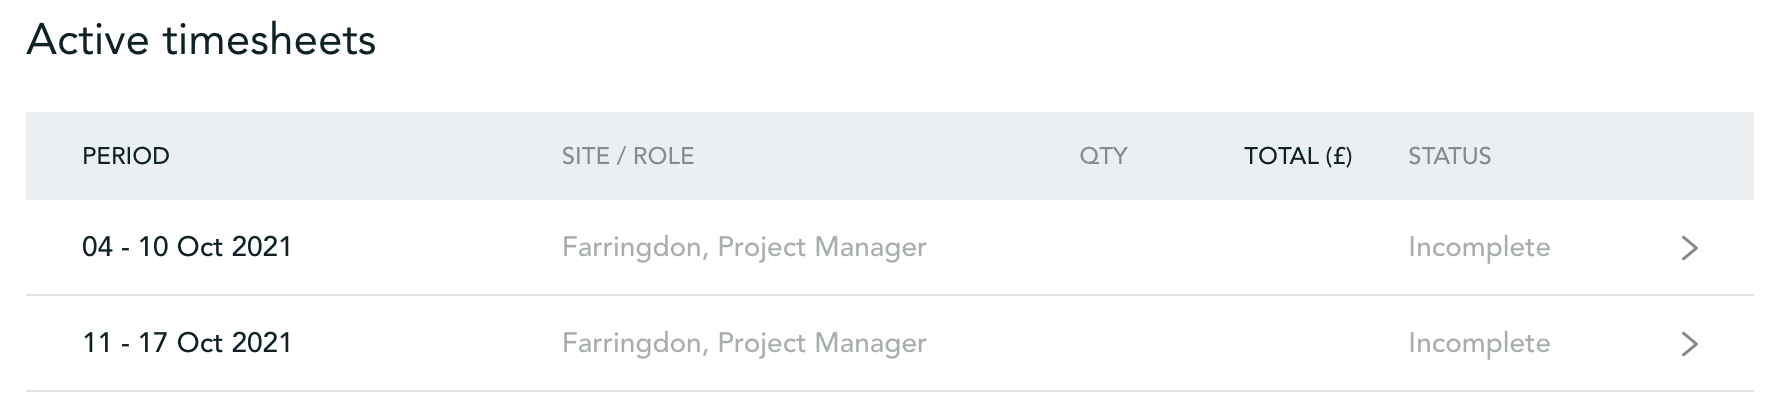
Step 3. Select the timesheet you want to complete
Tip!
Some agencies fill out timesheets on behalf of the worker, so if the timesheets section is missing, or there are non-present, contact your agency as this maybe intended.
Rates
Step 4. Fill out the form for each day worked depending on your rate type
Tip!
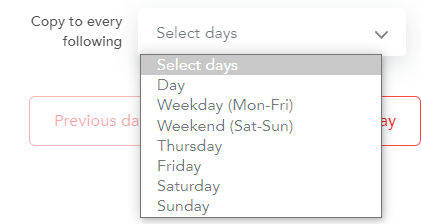
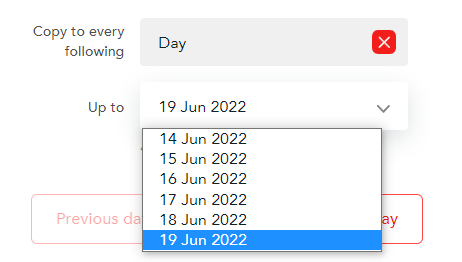
If you worked the same amount of hours each day during the week you can copy your entry to other days by clicking on the drop down menu next to 'Copy to every following' and choose the relevant option.
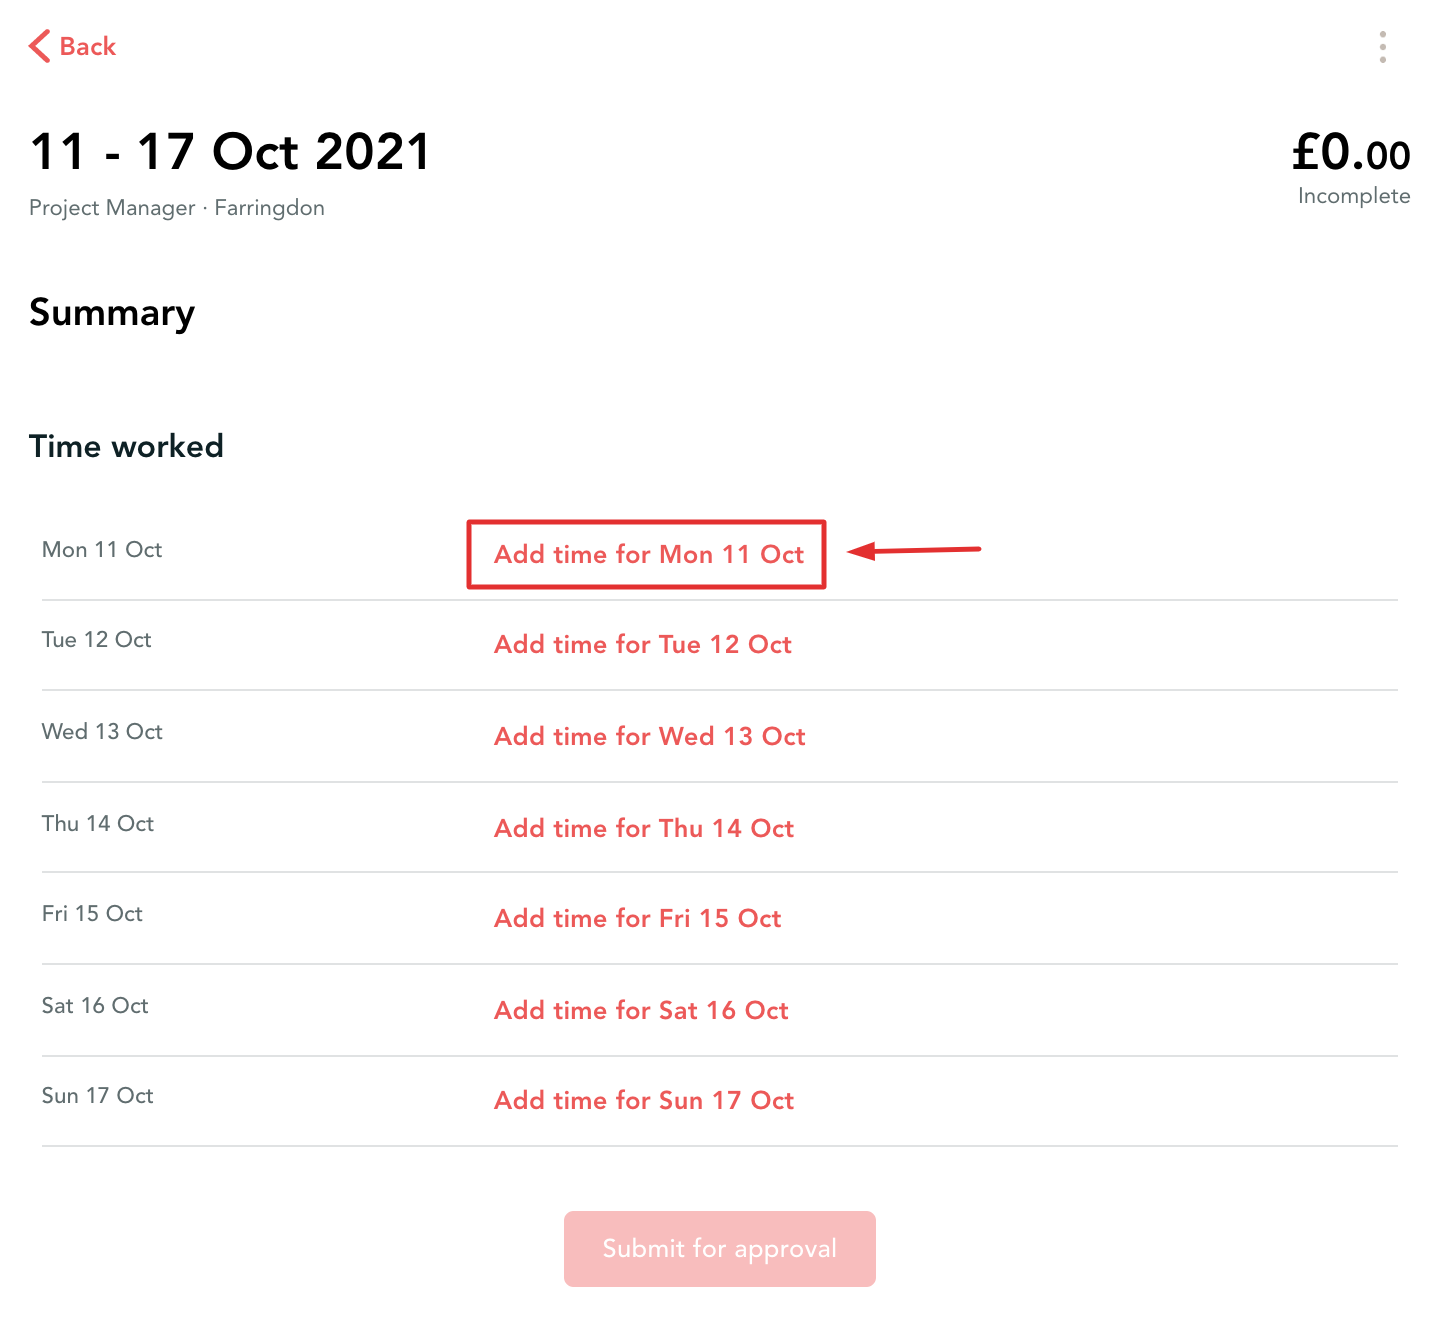
If you have a daily rate, you would be prompted to enter whether you have worked half day (0.5) or full day (1).
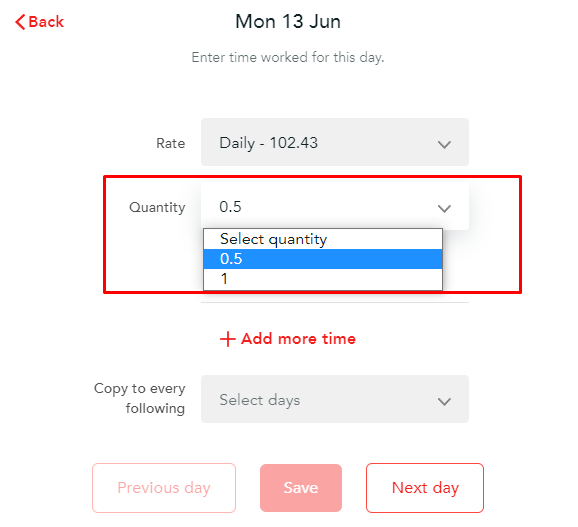
If you have an hourly rate, you would need to enter start and end times as well as breaks.
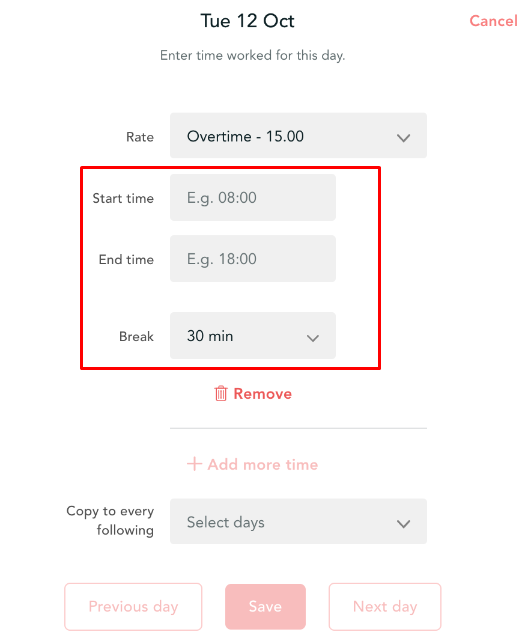
If you have a piece rate, you would need to choose the rate (if there are multiple), enter the quantity and the days worked.
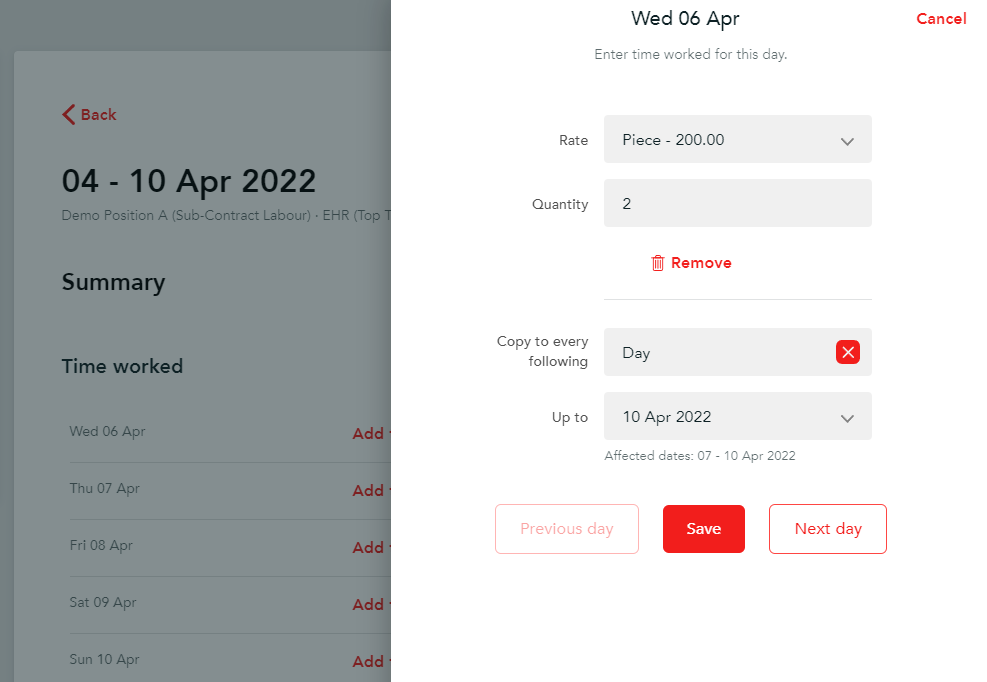
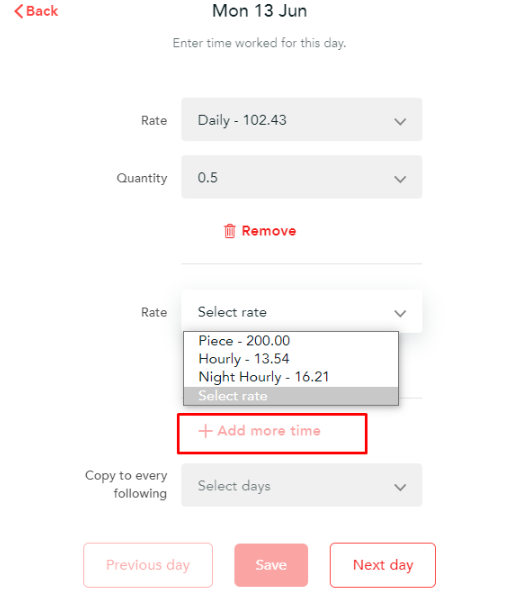
If your job involves working day and night shifts as well as being paid by piece rate - you can add multiple rates onto each day. Simply click on the '+Add more time' button to add another rate onto the selected day.

Timesheet features
Some agencies will have certain timesheet features enabled. Below we have explained how this affects you and the next steps.
Please note!
Fatigue management, Shift-time records and Activity reference can be combined, so all related information might be required
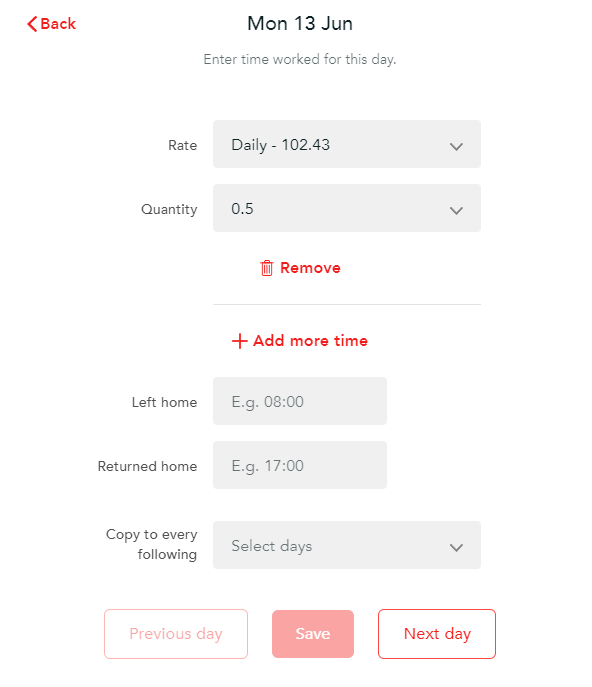
Fatigue can lead to errors and accidents, ill-health and injury, and reduced productivity. Therefore, some agencies would require you to enter both the times when you left and returned to your house.
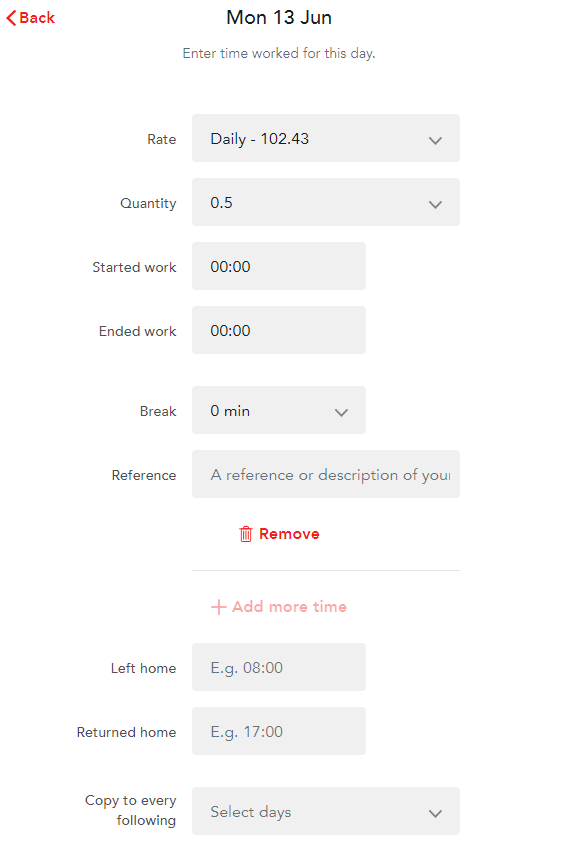
If you are doing a shift work and getting paid per day, your agency might require you to record start and finish times. This will not affect the rate on the ENGAGE system but allows your agency to see the hours worked each day.
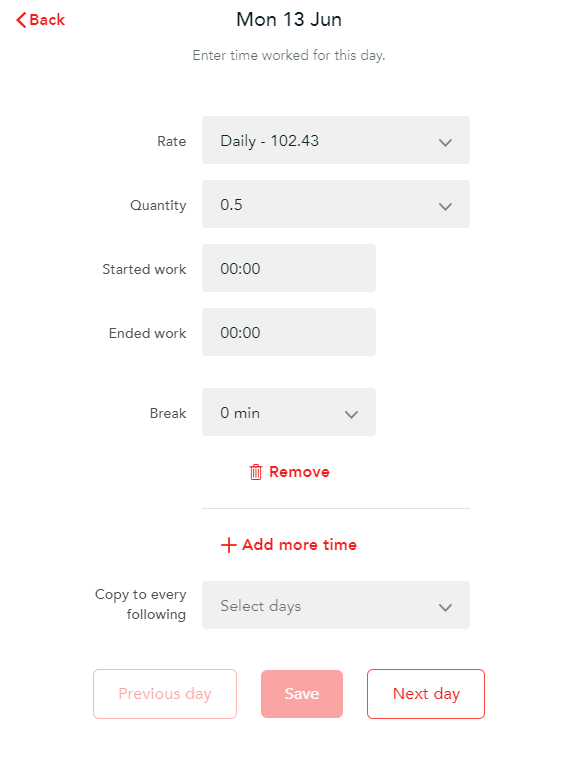
Activity reference is a description of the project work you've done or project code. If you worked on multiple projects, just click on '+Add more time' and you will be able to add more times with their respective projects descriptions.
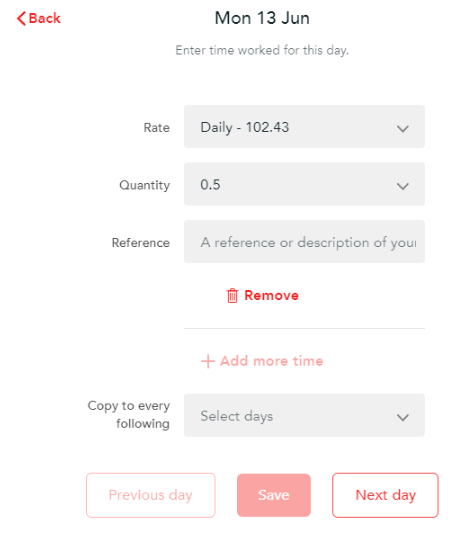
Step 5. You can fill out timesheets at your own pace:
- If you are filling out a timesheet for the whole week just click 'Next day' and the previous day will be saved automatically
- If you are doing it day by day - just enter the hours and click 'Save'
Making changes
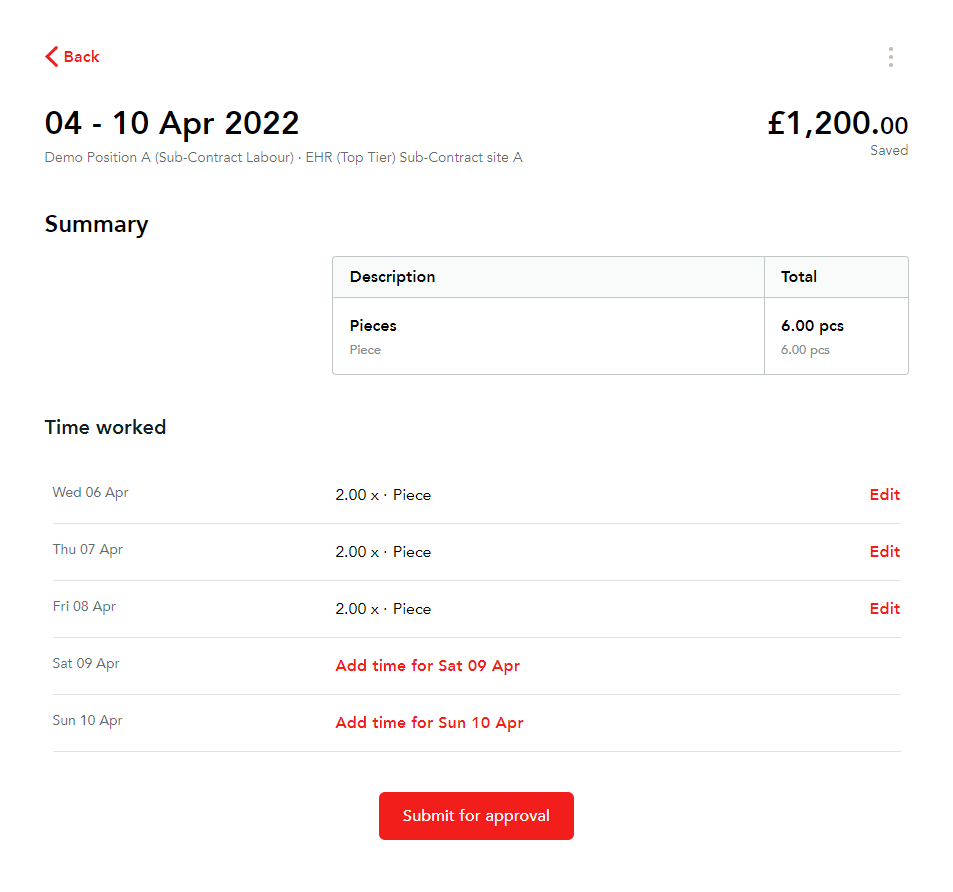
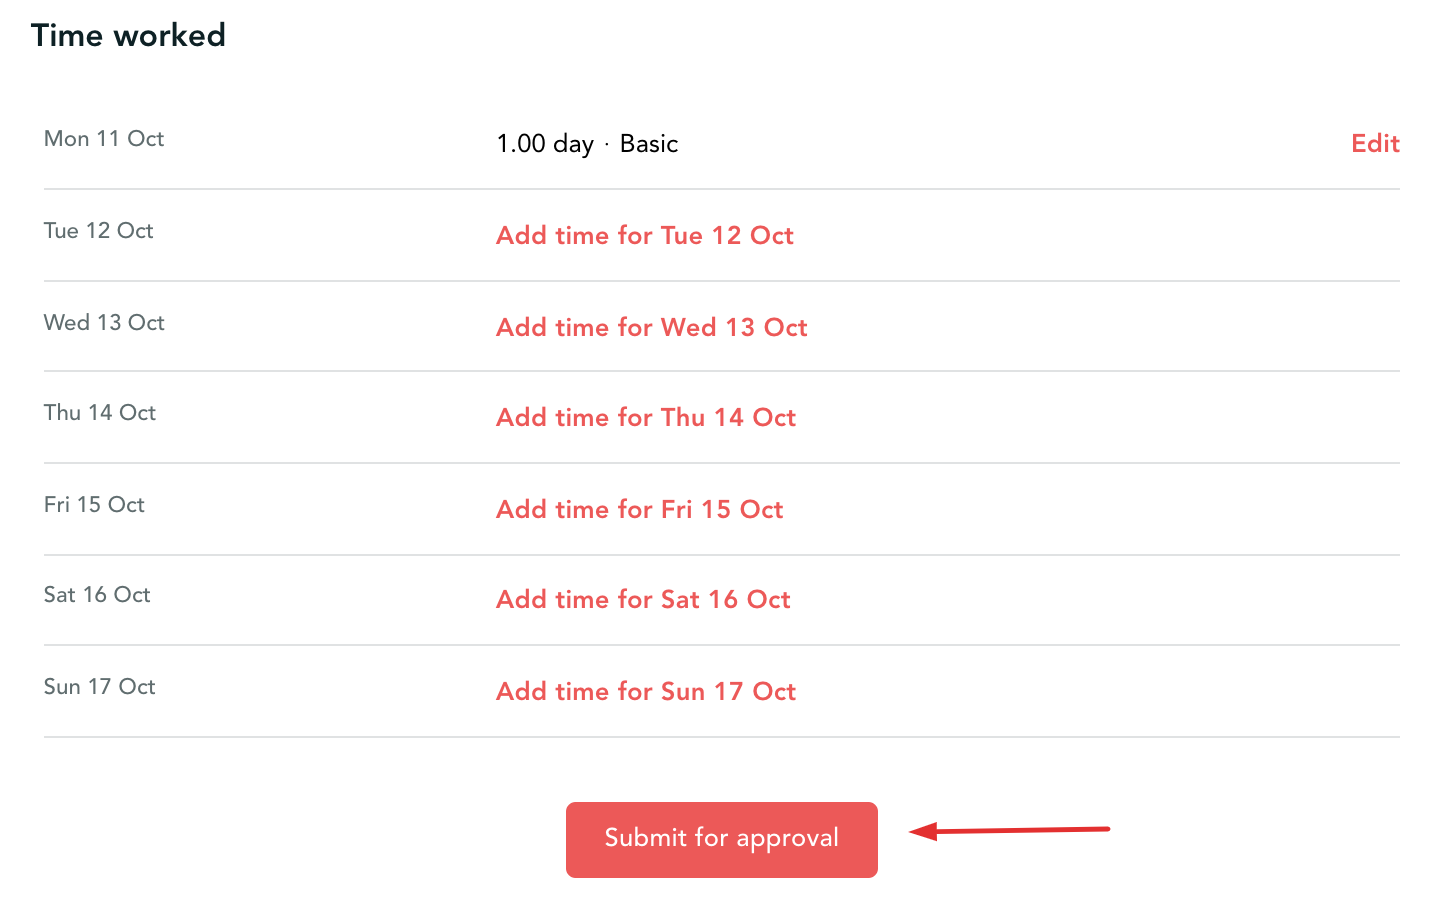
If you need to amend the times, simply click on the 'Edit' button and make necessary changes. Keep in mind that you cannot make changes to your timesheet once it has been submitted.
Step 6. When you are ready to submit your timesheet, first, double-check the hours are correct against each day you worked and click 'Submit for approval'
Absent timesheet
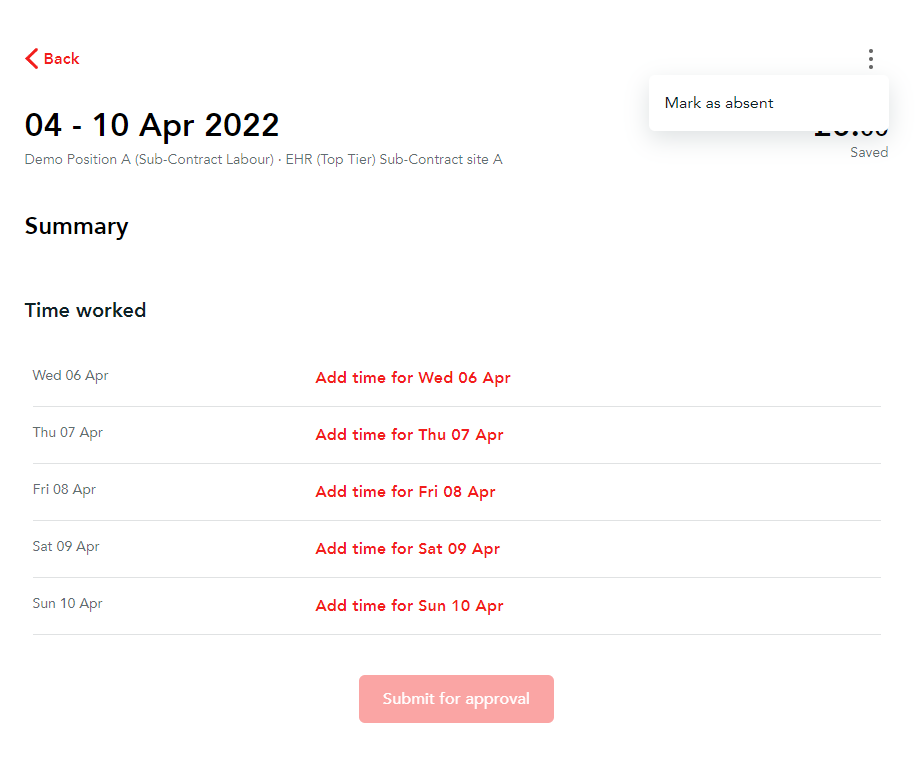
If you haven't worked for the full week, you can mark your timesheet as absent. Once marked, the system will set all hours within the dated period to zero.
Step 1. Log in to Engage portal
Step 2. Navigate to the 'Timesheets'
Step 3. Select the timesheet you wish to mark as absent
Step 4. Click the three dots menu and select 'Mark as absent'
Very important!
Please be aware that once you mark timesheet as absent - you would not be able to undo it. If this has been done by mistake, please reach out to your agency as it is only them who can rectify it for you.