
Who can interact with this?
This feature can be accessed by any role at the Agency. (you can find out more about roles and privileges here)
Step 1. Log in to Engage portal
Step 2. Navigate to 'Network' and 'Businesses'
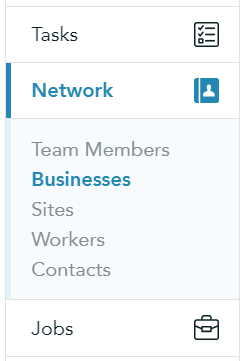
Step 3. Find the business in question and click on it
Step 4. Go to 'Client configurations' in the top right
Step 5. Click on the client
Step 6. You can edit invoice details from the 'Finance' tab
Step 7. You would need to use custom details to set an invoice contact. Suggested contacts would be sourced from the 'Contacts' section of the platform therefore please make sure you create a contact beforehand.
Feature update:
Anyone added as an invoice contact will be automatically granted finance privileges allowing them to fulfill their role as invoice contact.
Please Note:
You can only choose one person as an invoice contact
Step 8. Don't forget to click 'Save settings' to apply changes
Please note!
Users can still view invoices in the 'Finance' section of the platform even if no contact is specified in this field
Setting invoice contact at a site level
Step 1. Log in to Engage portal
Step 2. Navigate to 'Sites' in the 'Network' section
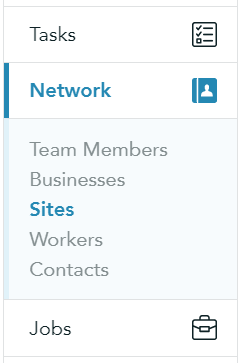
Step 3. Click on the site you wish to edit
Step 4. Click 'Edit' from the 3-bar menu from the top right-hand corner
Step 5. Scroll down to the 'Invoice details' section and choose 'Site' to edit the invoice contact and address for that site
Suggested contacts would be sourced from the 'Contacts' section of the platform therefore please make sure you create a contact beforehand.
Please Note:
You can only choose one person as an invoice contact
Step 5. Don't forget to click 'Save site' to apply changes